If you generate your own, self-signed root certificate Windows will complain about it because Windows doesn’t trust you. It is a good thing but it also is annoying. I’ll show you how you can add your self-signed certificate to the certificate store so Windows 11 will trust you.
Self signed certificates in Windows 11

After following this guide you have your own, self-signed certificate. It’s the ~/keys/ca/root-ca.crt file. There are a few steps to follow but none of them involves a command line.
I created this guide on Windows 11, Windows 10 should also be OK.
Open the Microsoft Management Console
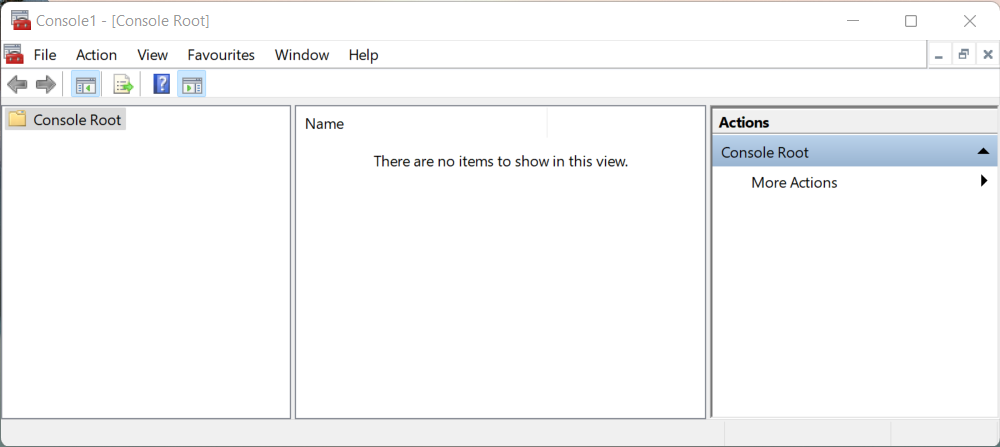
Open the “start menu” and type mmc. Windows will search for a program that matches “mmc”. Click the icon with the red toolbox. This will open the “Microsoft Management Console” which looks like this:
Add certificate manager
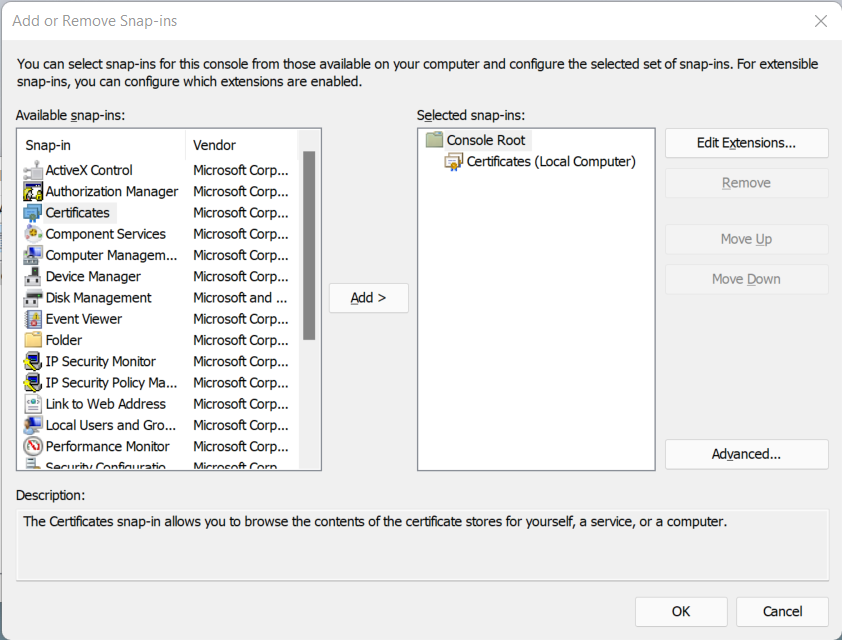
In the MMC, go to “File” » “Add/Remove Snap-in”. A new window will open.
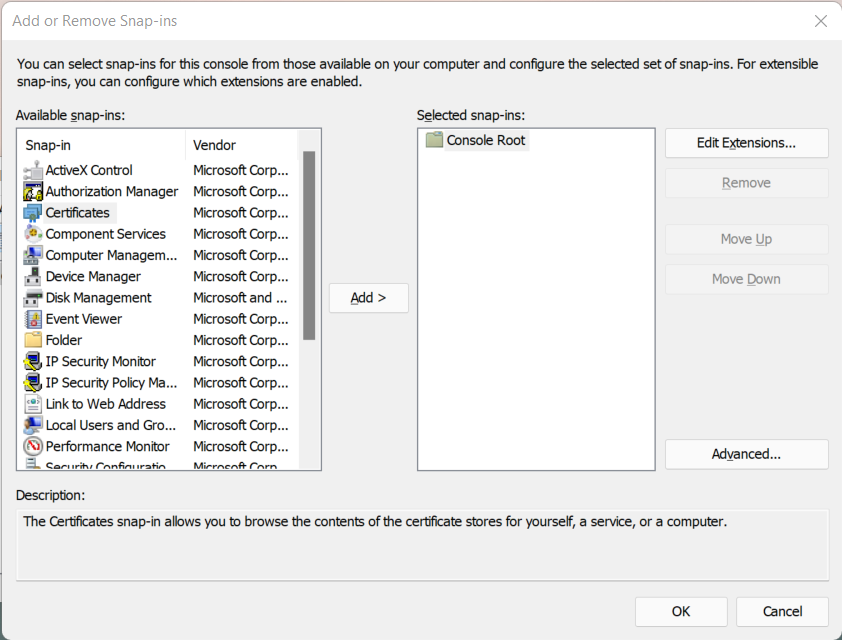
From the list of snap-ins, chose “Certificates” and click “Add” and follow the wizard:
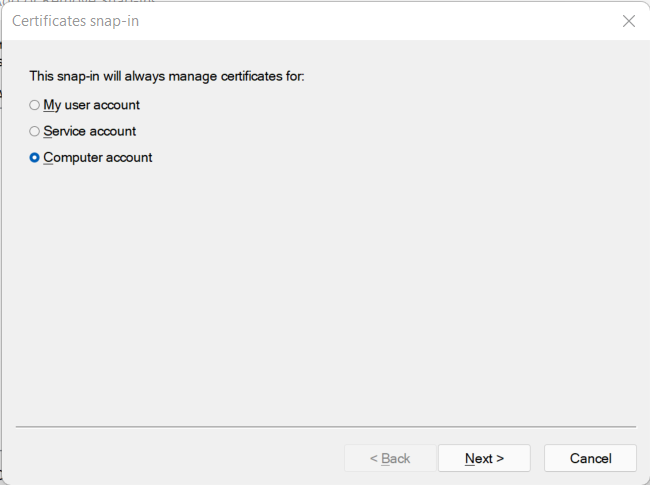
Select “Computer account”
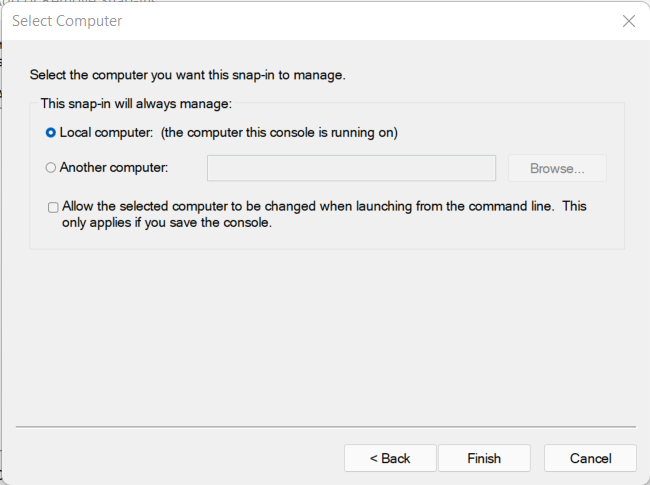
And next chose “Local computer” (no other choices are available.) and click “Finish”.
The snap-in is added, you can now click “OK
List certificates

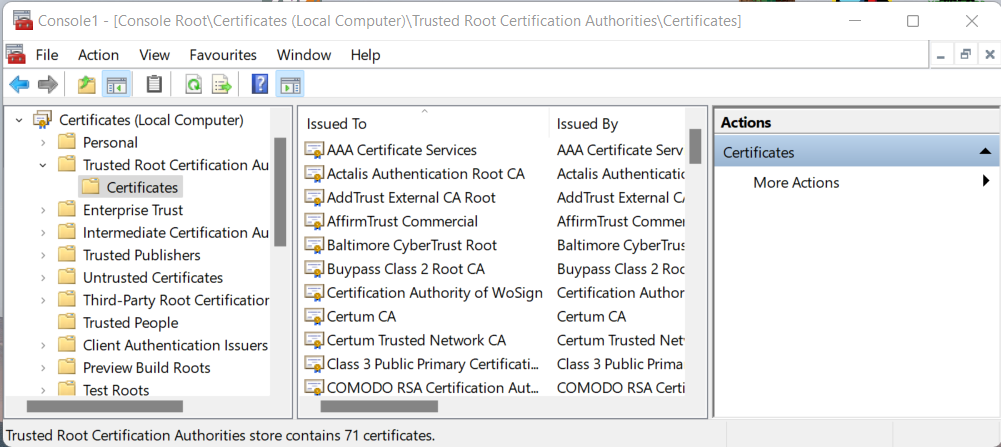
You can now browse through the already available certificates. In the middle pane, double click “Certificates (local Computer)” and then “Trusted Root Certificate Authorities” and finally “Certificates”. you’ll see a list of all root CAs the computer trusts. We created our own root certificate authority so we will have to add ours here.
Add our Root CA
With the list of certificates in the middle pane, right-click on “Certificates” in the left pane, go the “All Tasks” and “Import”. Alternatively, you can select “Action” from the top menu bar, go to “All Tasks” and finally “Import”. Follow the wizard.
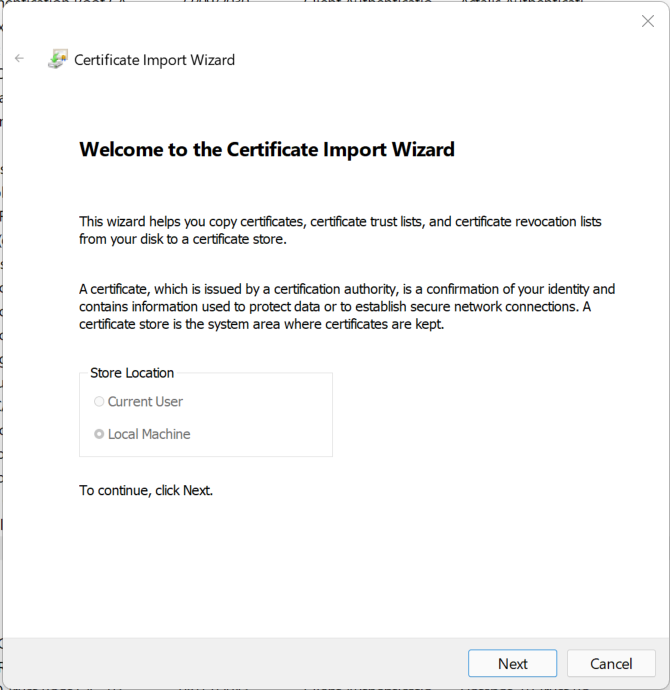
Click “Next”
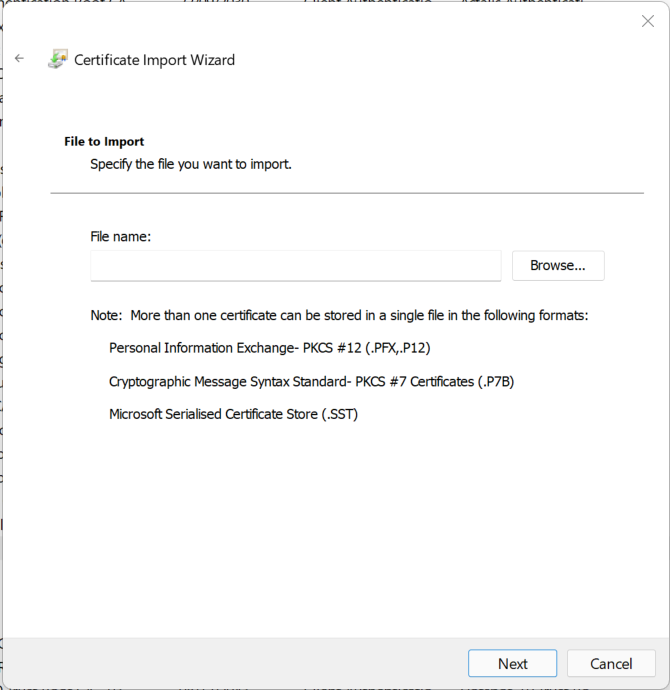
Browse to your root certificate (keys/ca/root-ca.crt) and click “Next”.
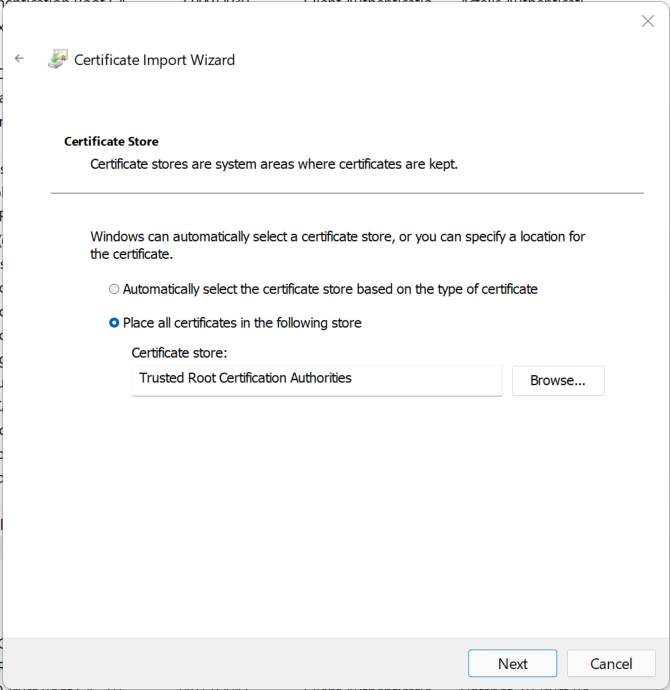
Click “Next” again. The wizard already selected the right option for us to store the new certificate in the right store.
Check and done!
Your certificate is now added to Windows. Your computer will now trust all the certificates that have been signed by this root certificate (and derivates). You might need to restart your browser for it to work with the newly added certificate.