A lot of IoT things happening at home involve interacting with my server. Like a lot of people, I started with a Raspberry Pi. Now I’ve moved onto a fanless computer I use as a server.
Installing the home server
“I don’t know why people are so keen to put the details of their private life in public; they forget that invisibility is a superpower.” - Banksy -
Although I use a lot of google apps and I even got a facebook profile, I do care about my privacy. So my own private server at home seemed like a good thing to have. But let’s be honest, I just like to tinker with it while pretending it serves my great value.
Anyway, it must be capable of doing what I need it for, while not being too expensive. My wish list is:
- Minidlna as media-server, not transcoding
- Samba for file sharing
- VPN server, both OpenVPN and Wireguard
- Mosquitto MQTT broker
- PostgreSQL and TimescaleDB as time series database
- Home Assistant
shopping cart
The area I live(d) was quite expensive for electricity. So the server has to be low in power, fanless ideally. Here’s the parts list I went for:
| part | price (€) |
|---|---|
| Cooler Master Elite 130 | 45.90 |
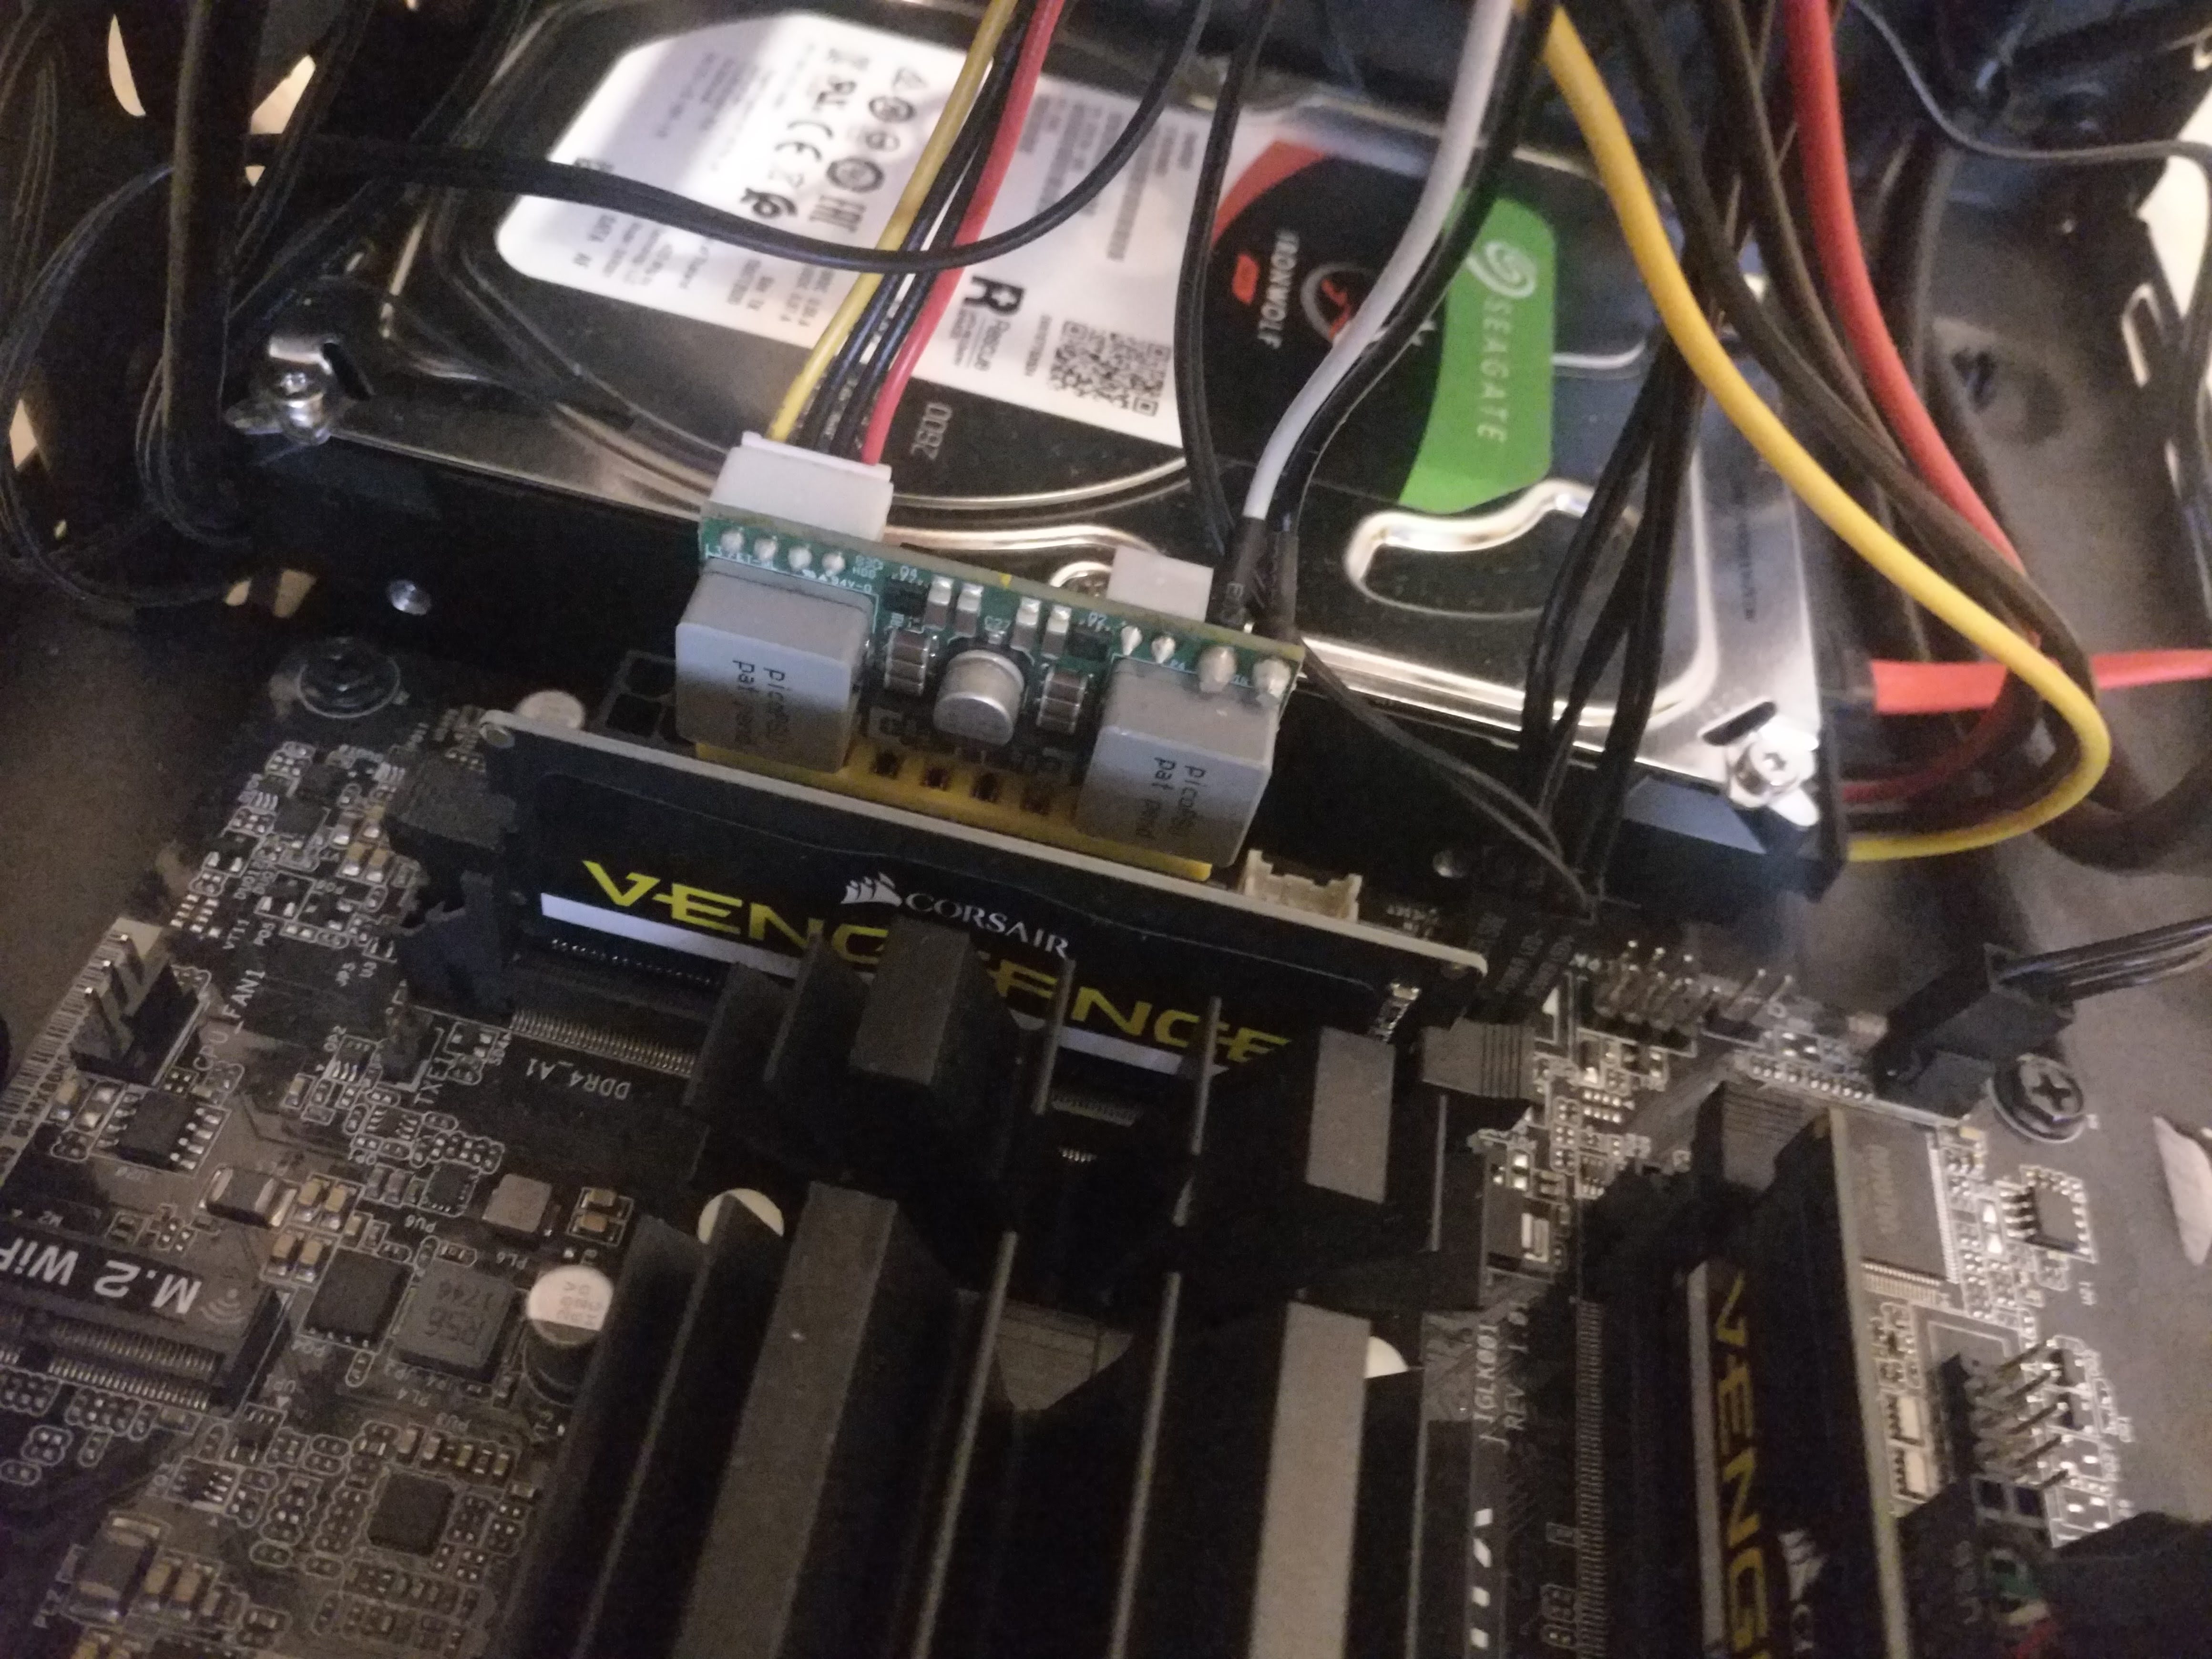
| PicoPSU-90 with 80W power brick | 66.00 |
| Corsair DDR4 2x8GB 2400MHz | 123.05 |
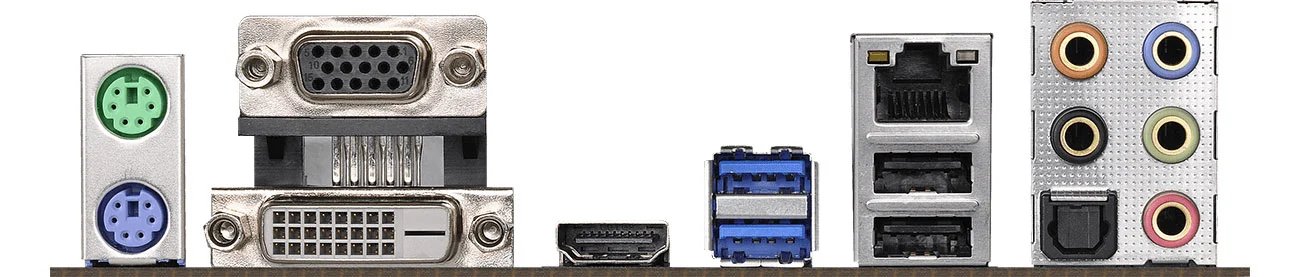
| Asrock J4105-ITX | 99.95 |
| Samsung EVO 860 250GB | 60.94 |
| 107.26 | |
| total | 503.10 |
The cables I needed, I had lying around. I also bought a second-hand Eaton Ellipse 750 with a new battery. I don’t remember the price.
The Asrock motherboard with J4105 processor is fanless and although the case has two built-in fans, I didn’t connect them. The only moving part in the setup is the Seagate hard disk drive. While I never actually measured power consumption I’m sure it is pretty low-powered.
building plan
Even if you never did it before, building your own computer is pretty straightforward. Most connections are fool-proof and can’t be inserted (1) wrong or (2) in the wrong location.
- my motherboard came with a soldered CPU. No worries here.
- I clicked the memory modules in the motherboard2
- Plugged the PicoPSU into the motherboard
- Screwed the disk drives into the case (make sure to use rubber damper feet)
I connected the SATA and power cables before putting the disks into the case - Screwed the motherboard into the case
- Connected all the wiring except the power to the case fans.
And done!

When powering up, everything was recognized. Of course, the computer didn’t boot. This is to be solved in the next step.
Keep a USB stick (I’d say at least 500MB) at hand to install Debian. A monitor and keyboard are also handy. Somehow I never managed to create an unattended installation USB stick.

Good luck!